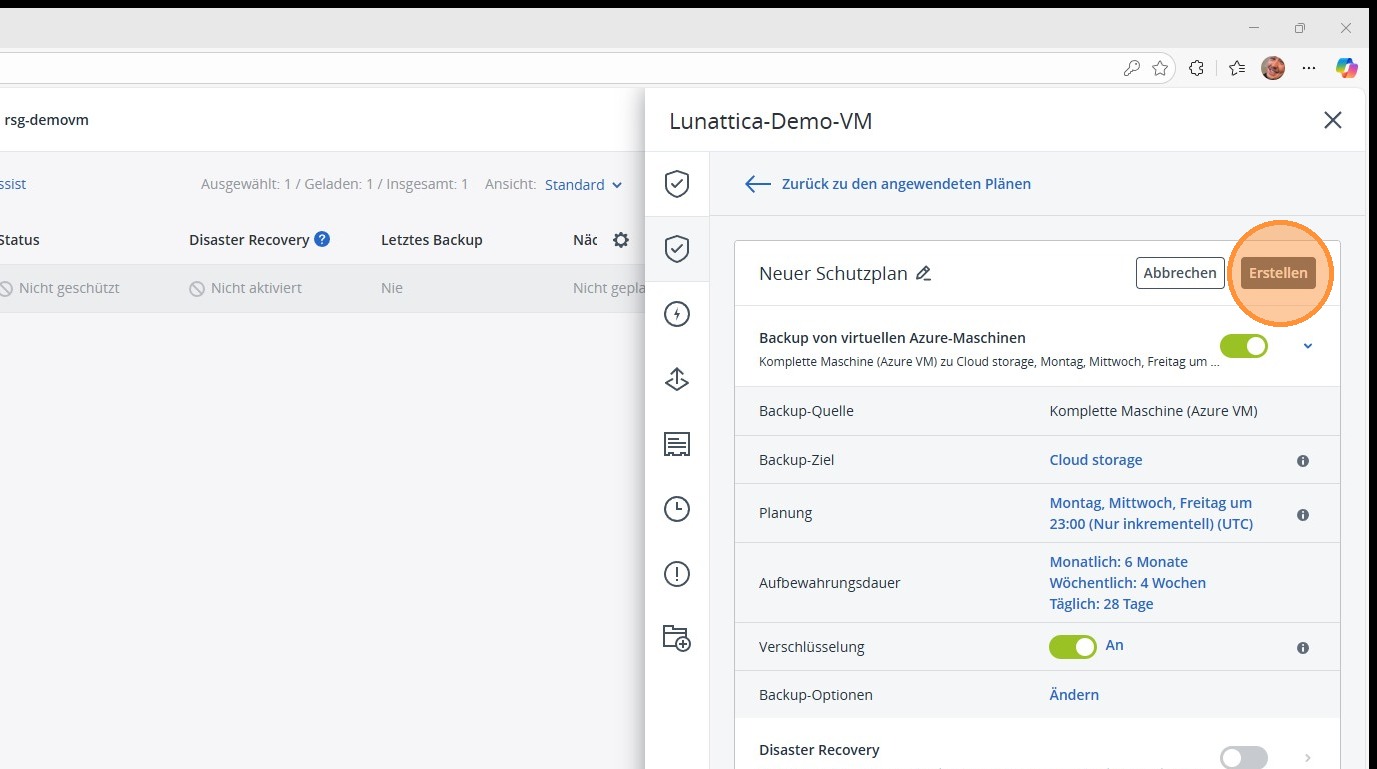
In this section, you will learn how to create a backup plan for a single Azure virtual machine. You will specify how often the backup is performed and how long the backups are retained in order to reliably protect your virtual machine.
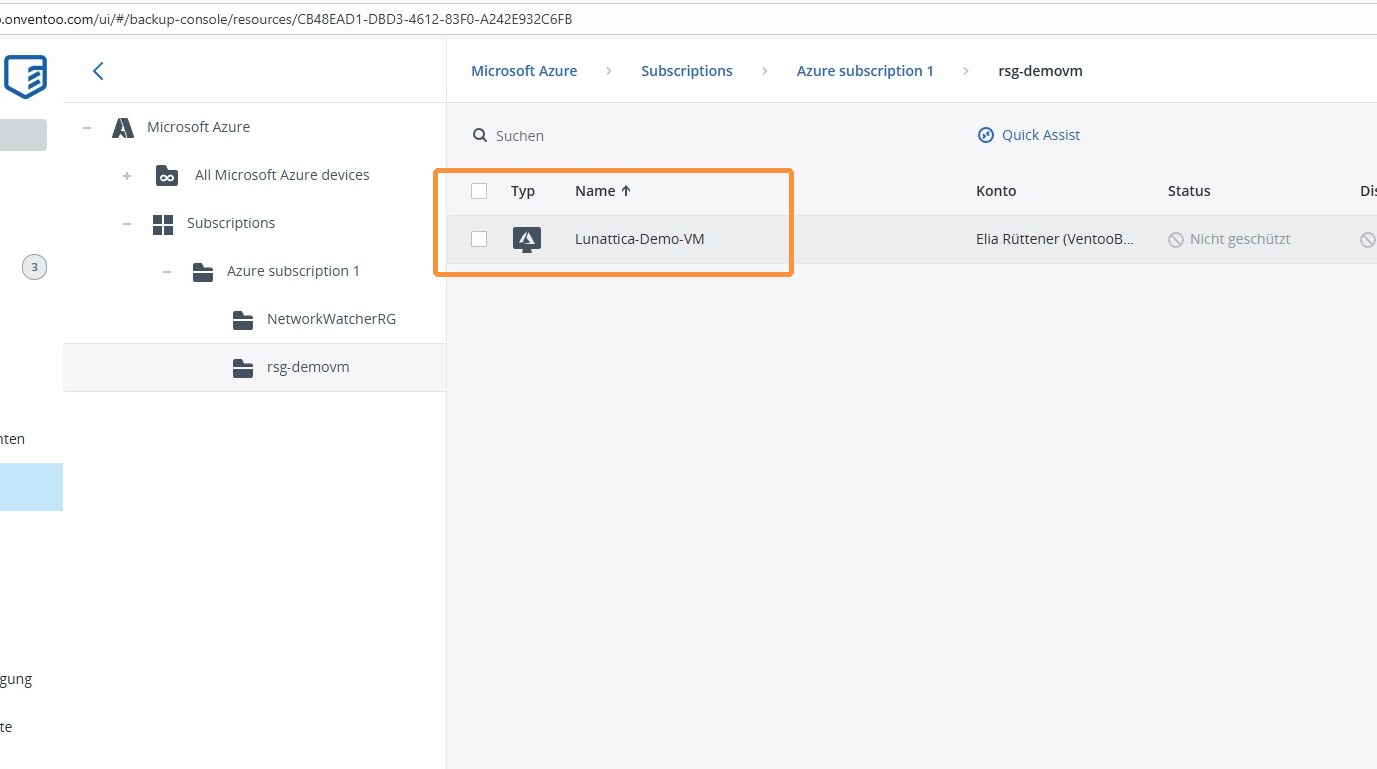
1. Select the virtual machine you want to back up. You can also select multiple virtual machines at the same time and define the backup as a group backup.
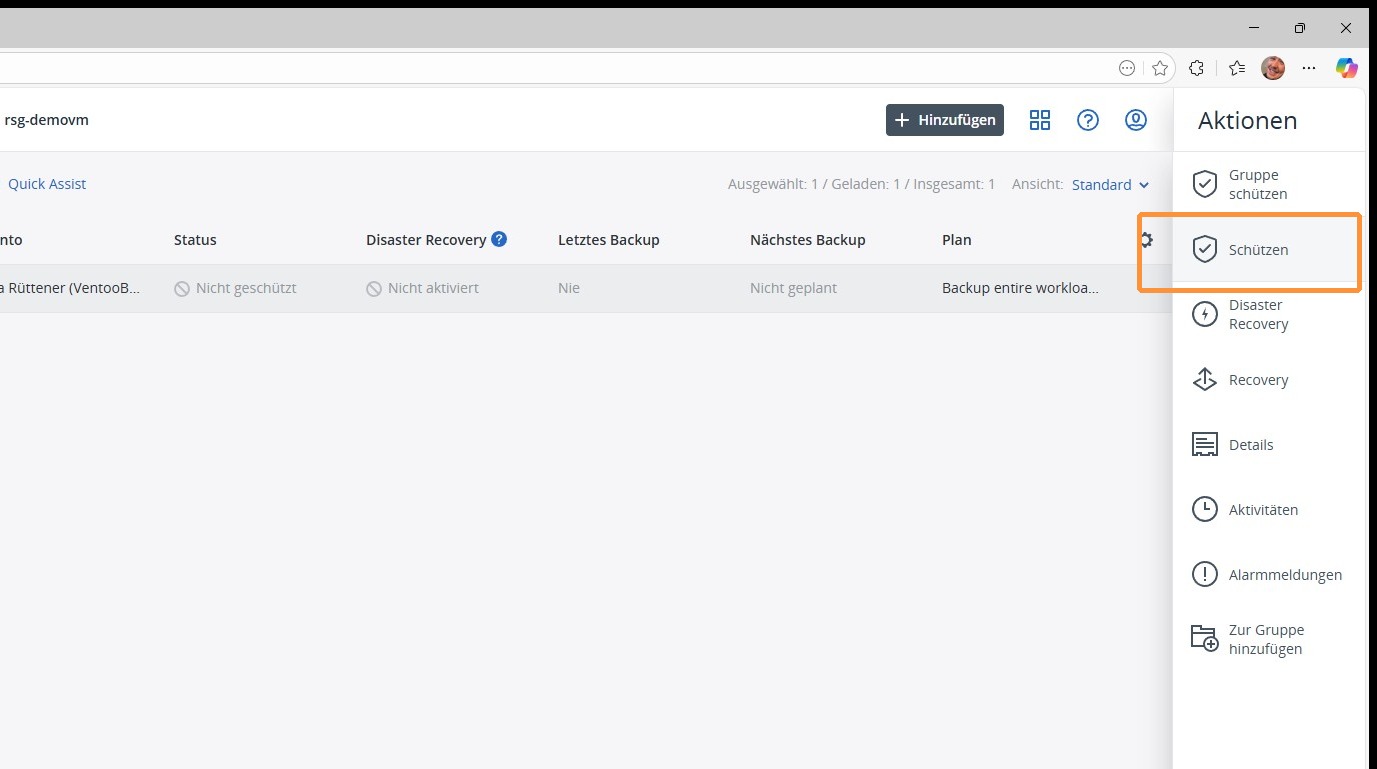
2. On the right, you can now select Protect or Protect group, depending on whether you want to secure a single virtual machine or several at the same time.
3. You can now either select a predefined backup, such as Complete Protection or Extended Protection. You also have the option of activating monitoring. By selecting the arrow on the right-hand side, you can review the individual items in detail and decide which configuration best suits your requirements.
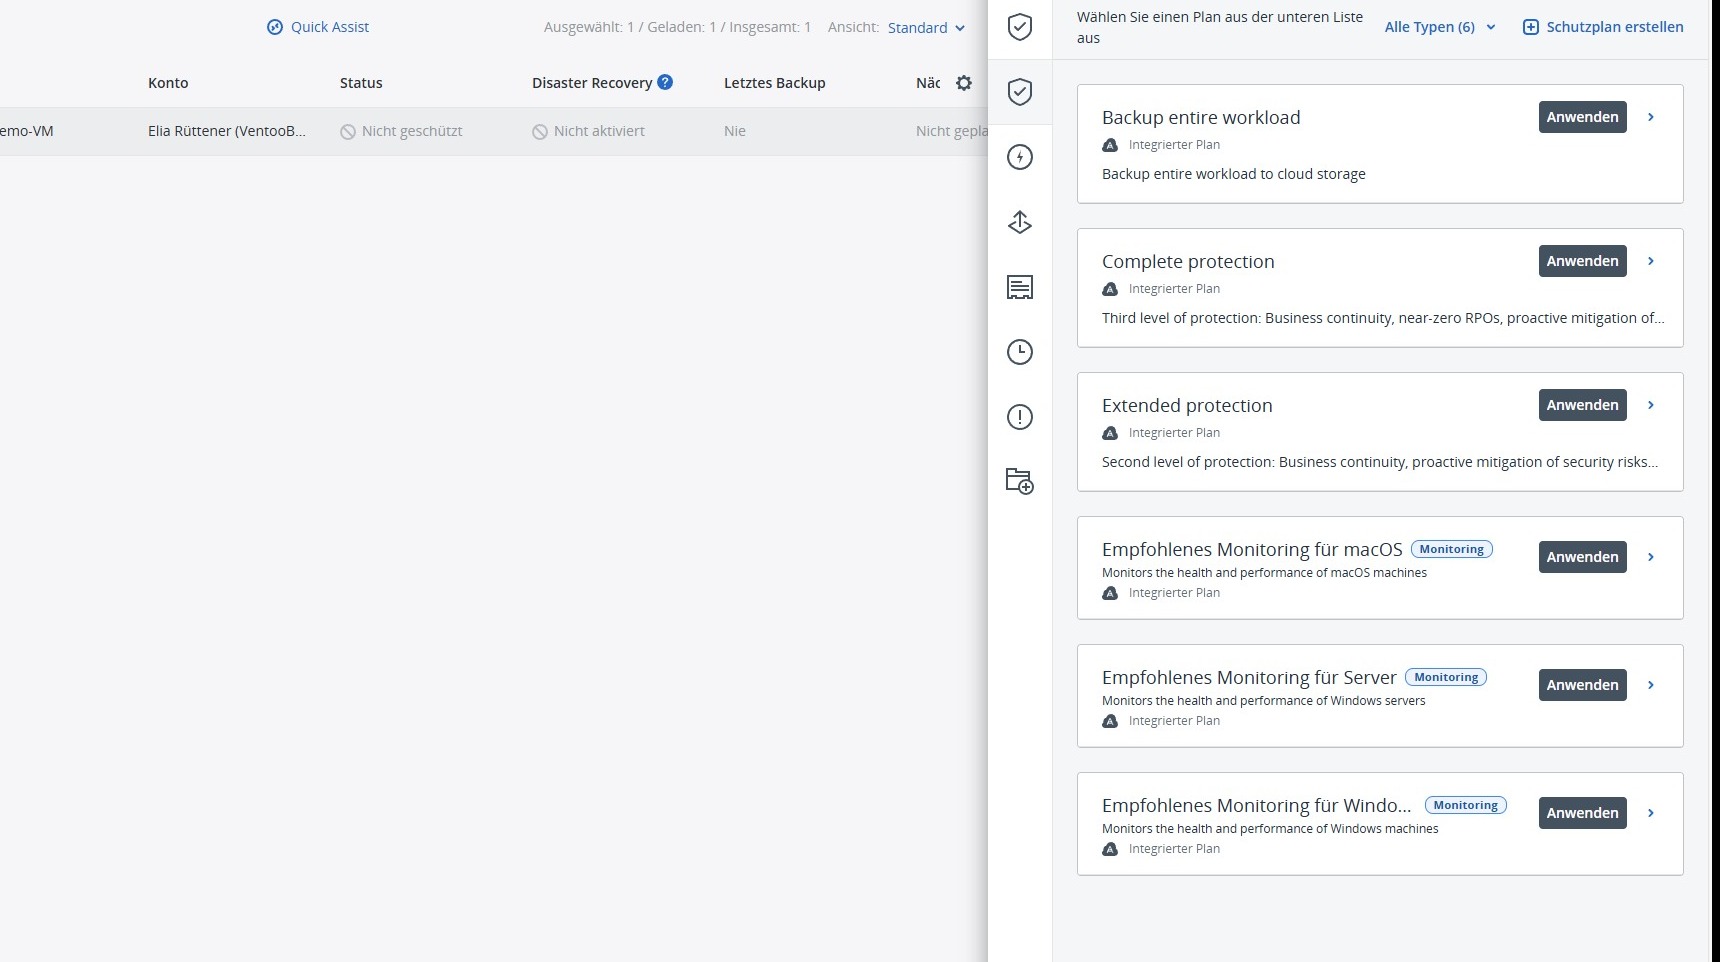
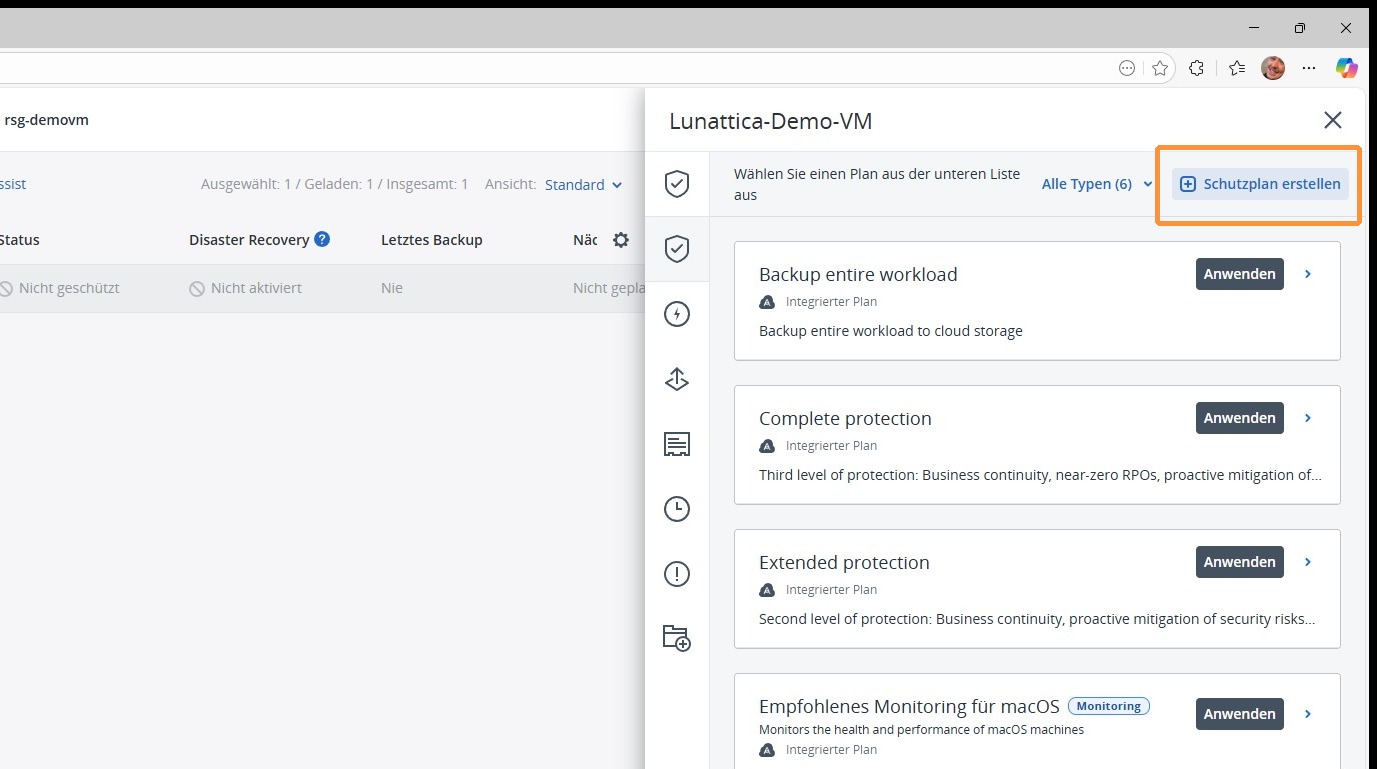
4. If you do not want to select a predefined plan, you can of course create your own backup plan and configure it individually.
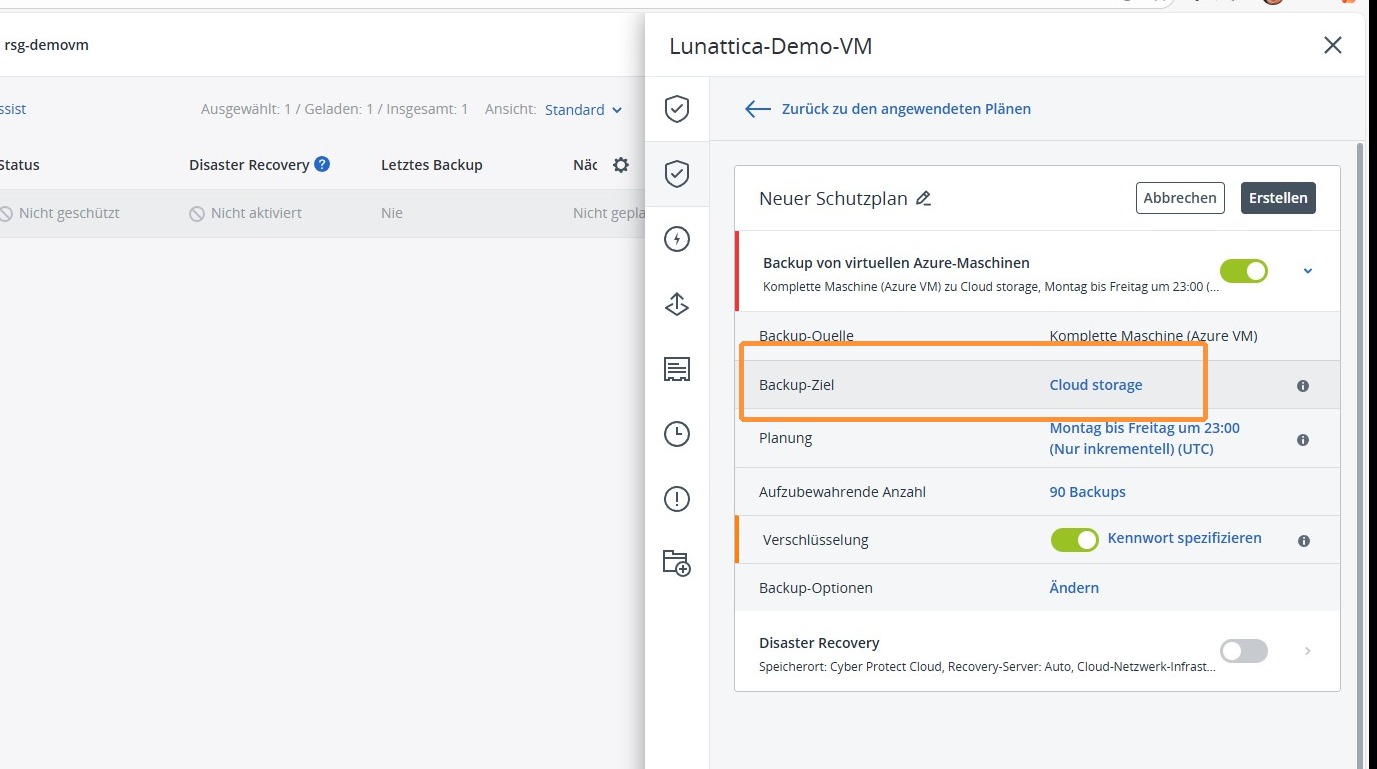
5. If you have defined one or more backup destinations, you can select them under Backup destination and specify them accordingly.
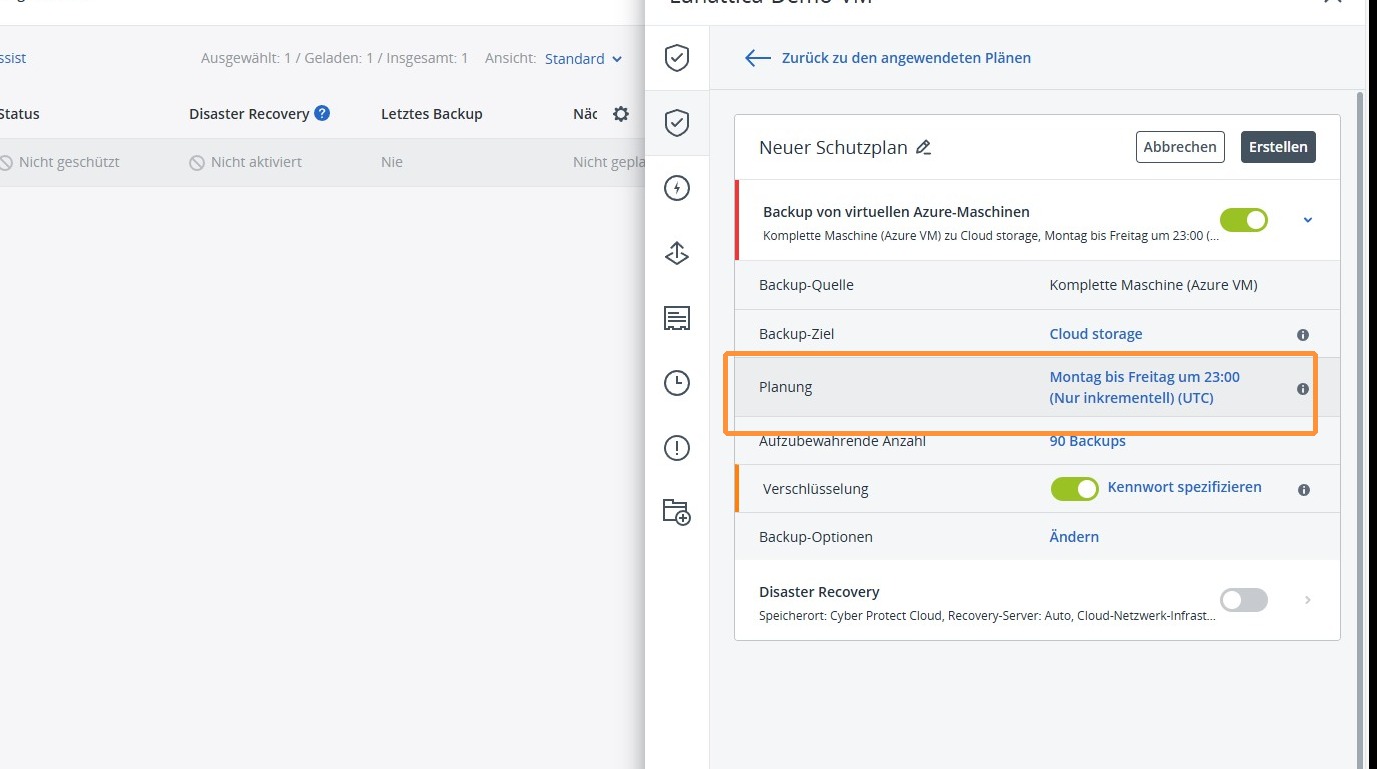
6. Under Planning, you can specify when the backups should be created.
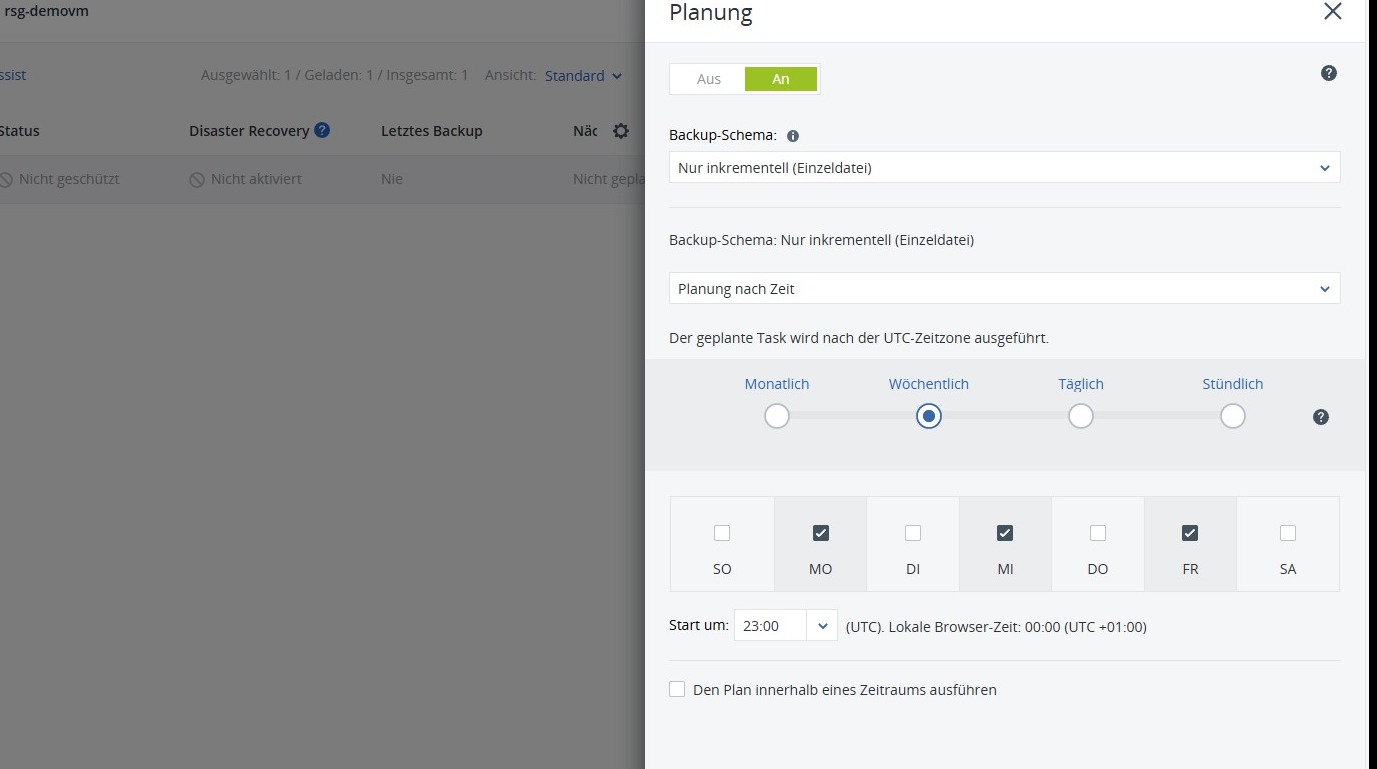
7. Define here how often the backup is performed, on which days it takes place, and at what time the backup should be performed.
8. Now you can specify how many backups should be retained.
Please note that the number of backups retained has a direct impact on storage utilization and thus also on the effective costs of data backup.
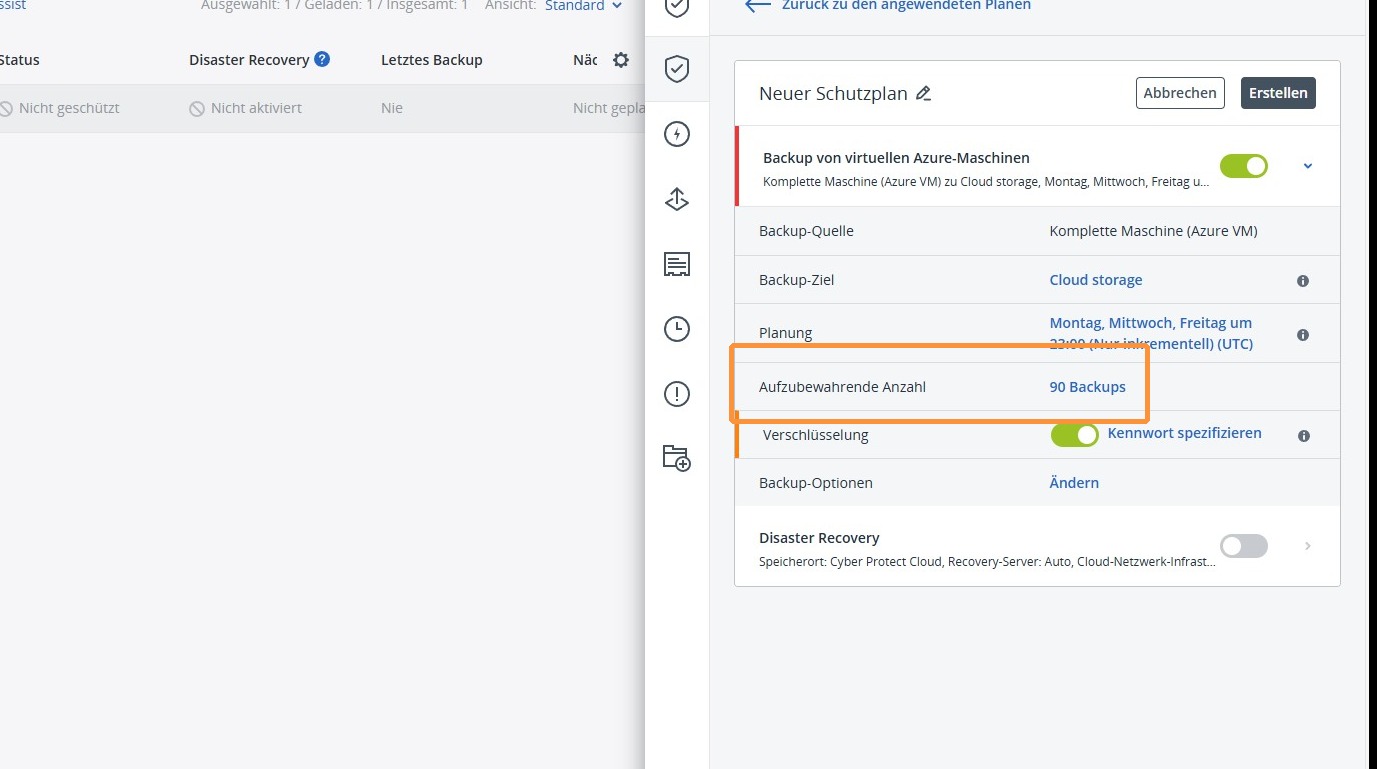
9. You have various options to choose from here. Storage can be defined according to the age of the backups, the number of backups, the total size of the backups, or unlimited.
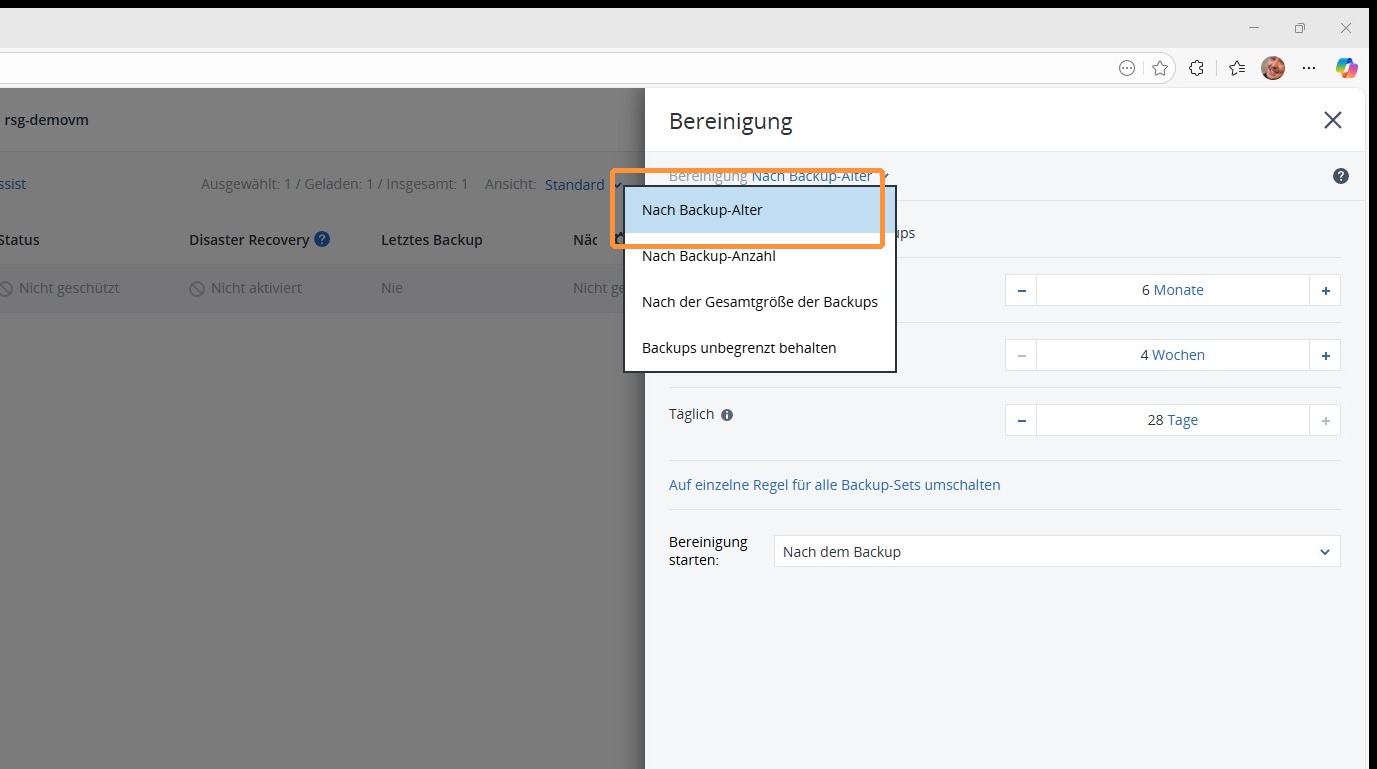
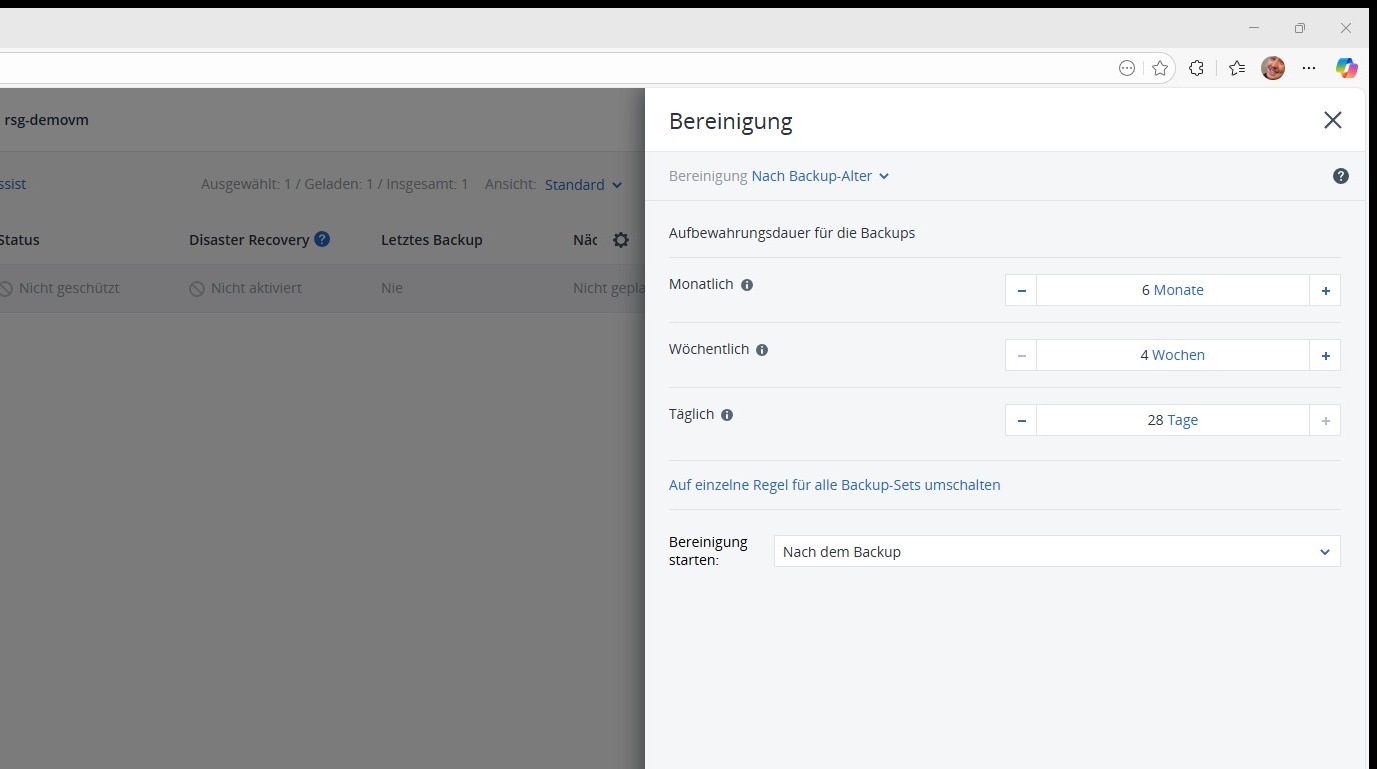
10. If you set retention based on the age of the backups, you can define how many monthly, weekly, and daily backups are retained before they are automatically deleted.
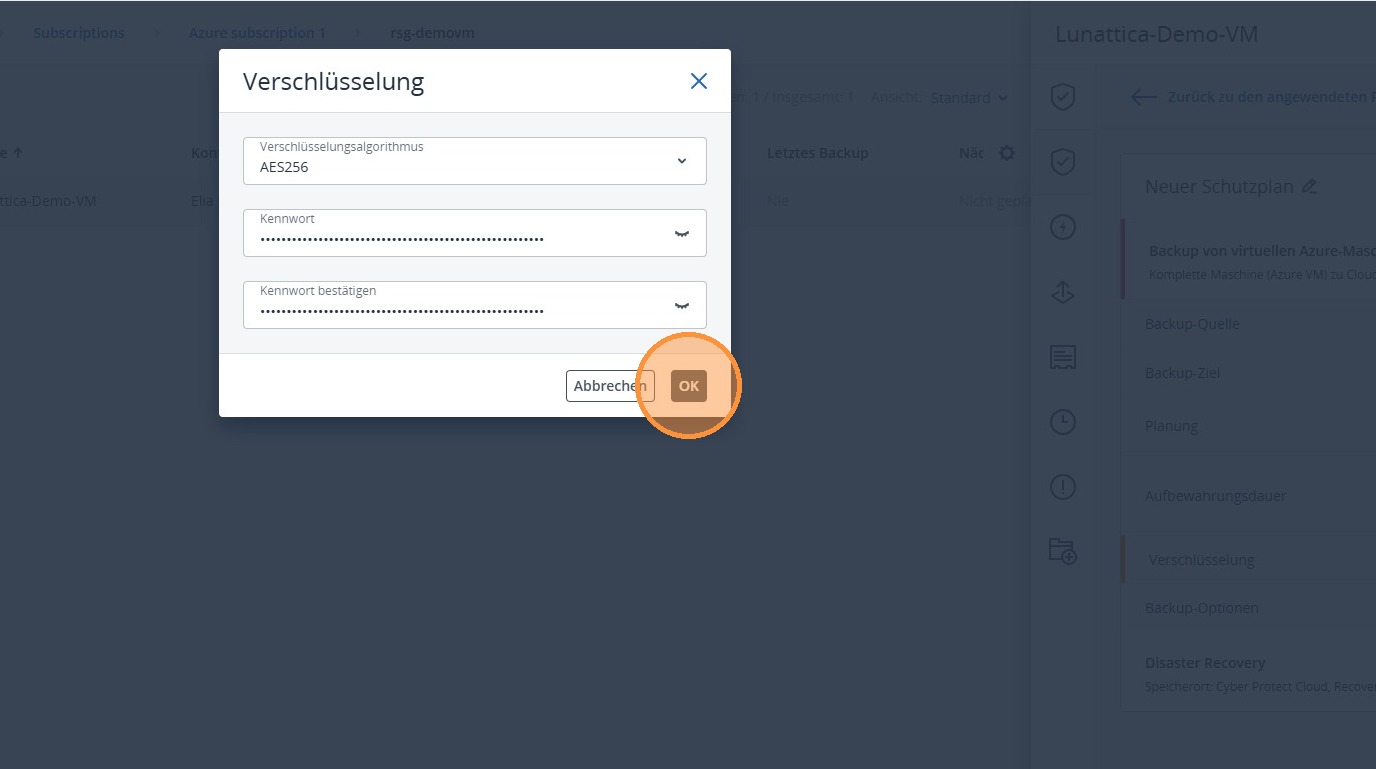
11. Under Encryption, you have the option to additionally encrypt the backups to protect the backed-up data from unauthorized access.
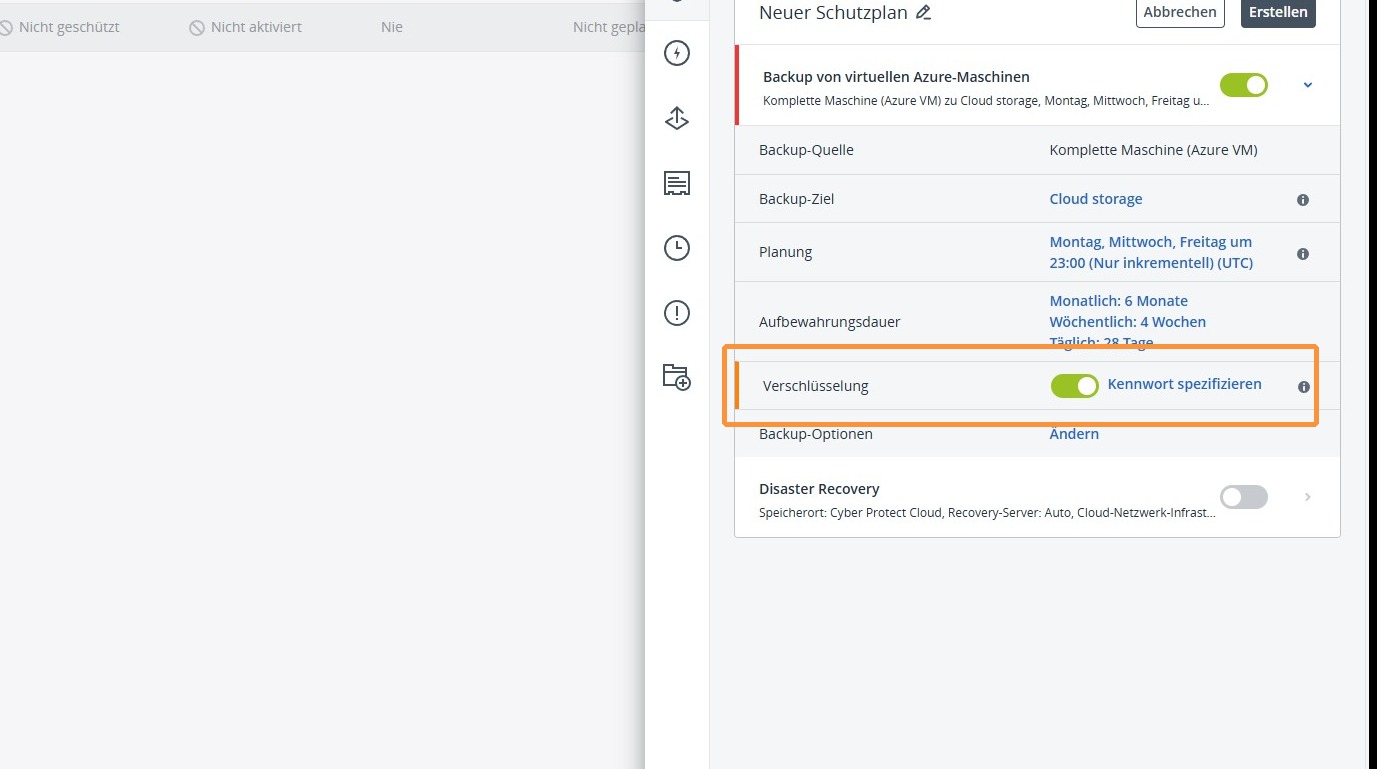
12. We recommend using AES 256 with a password of at least 45 characters. Alternatively, you can choose the encryption type and password according to your own security requirements.
13. You also have the option of activating disaster recovery. This feature allows you to quickly restart your virtual machine in the event of a total failure. This minimizes downtime and allows business operations to resume quickly without having to wait for a complete recovery.
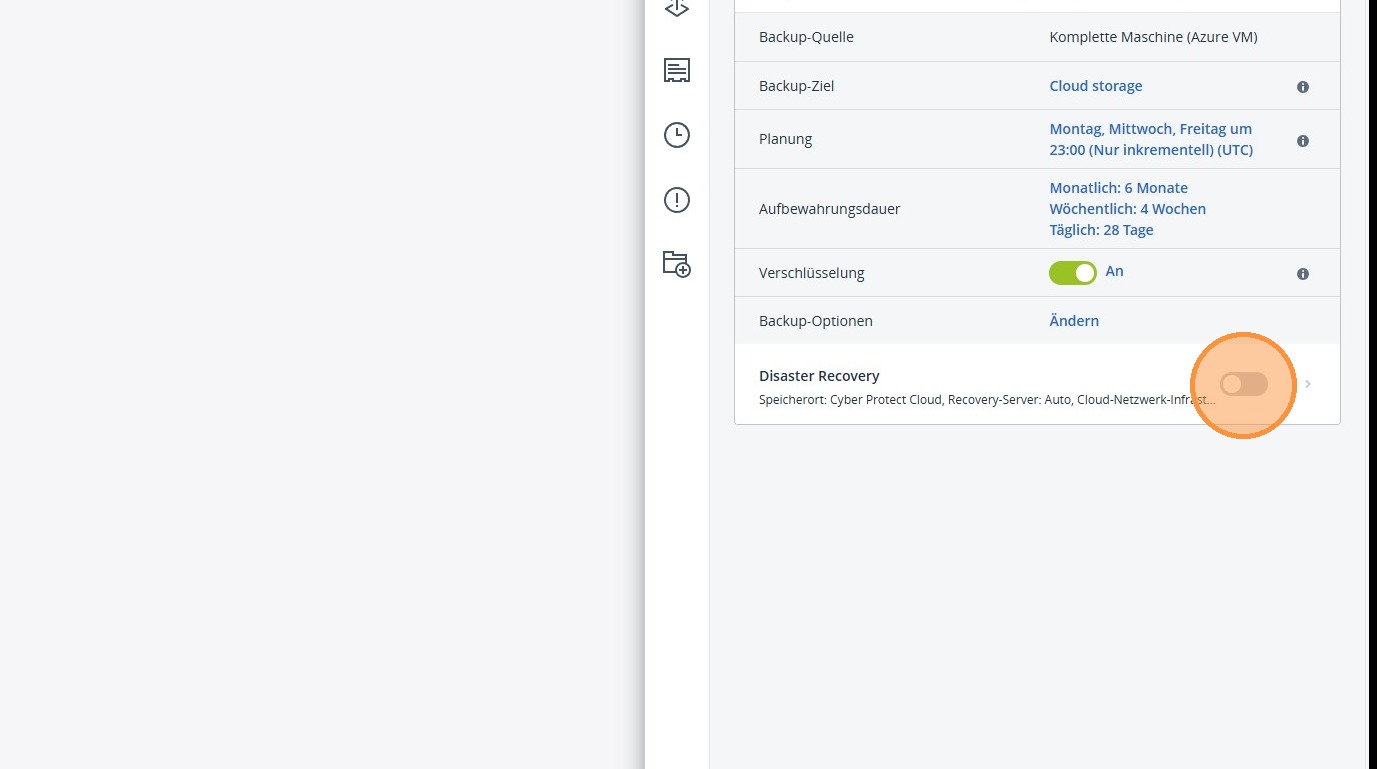
14. You can then create the backup plan in the top right-hand corner. This will then be executed automatically according to the defined settings.