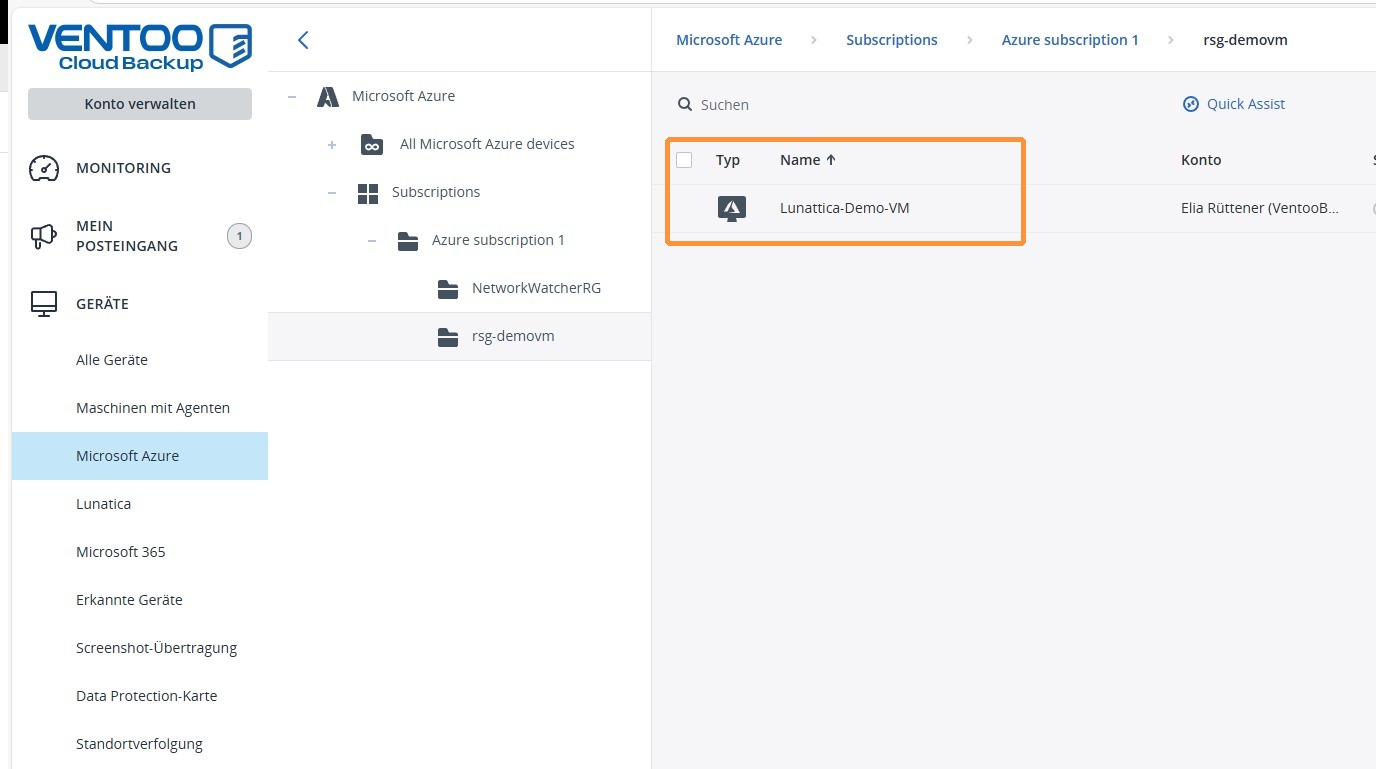
This step lays the foundation for backing up Azure Virtual Machines. The virtual machines are connected and made visible in the system so that they can be viewed later and selected for the creation of a backup plan.
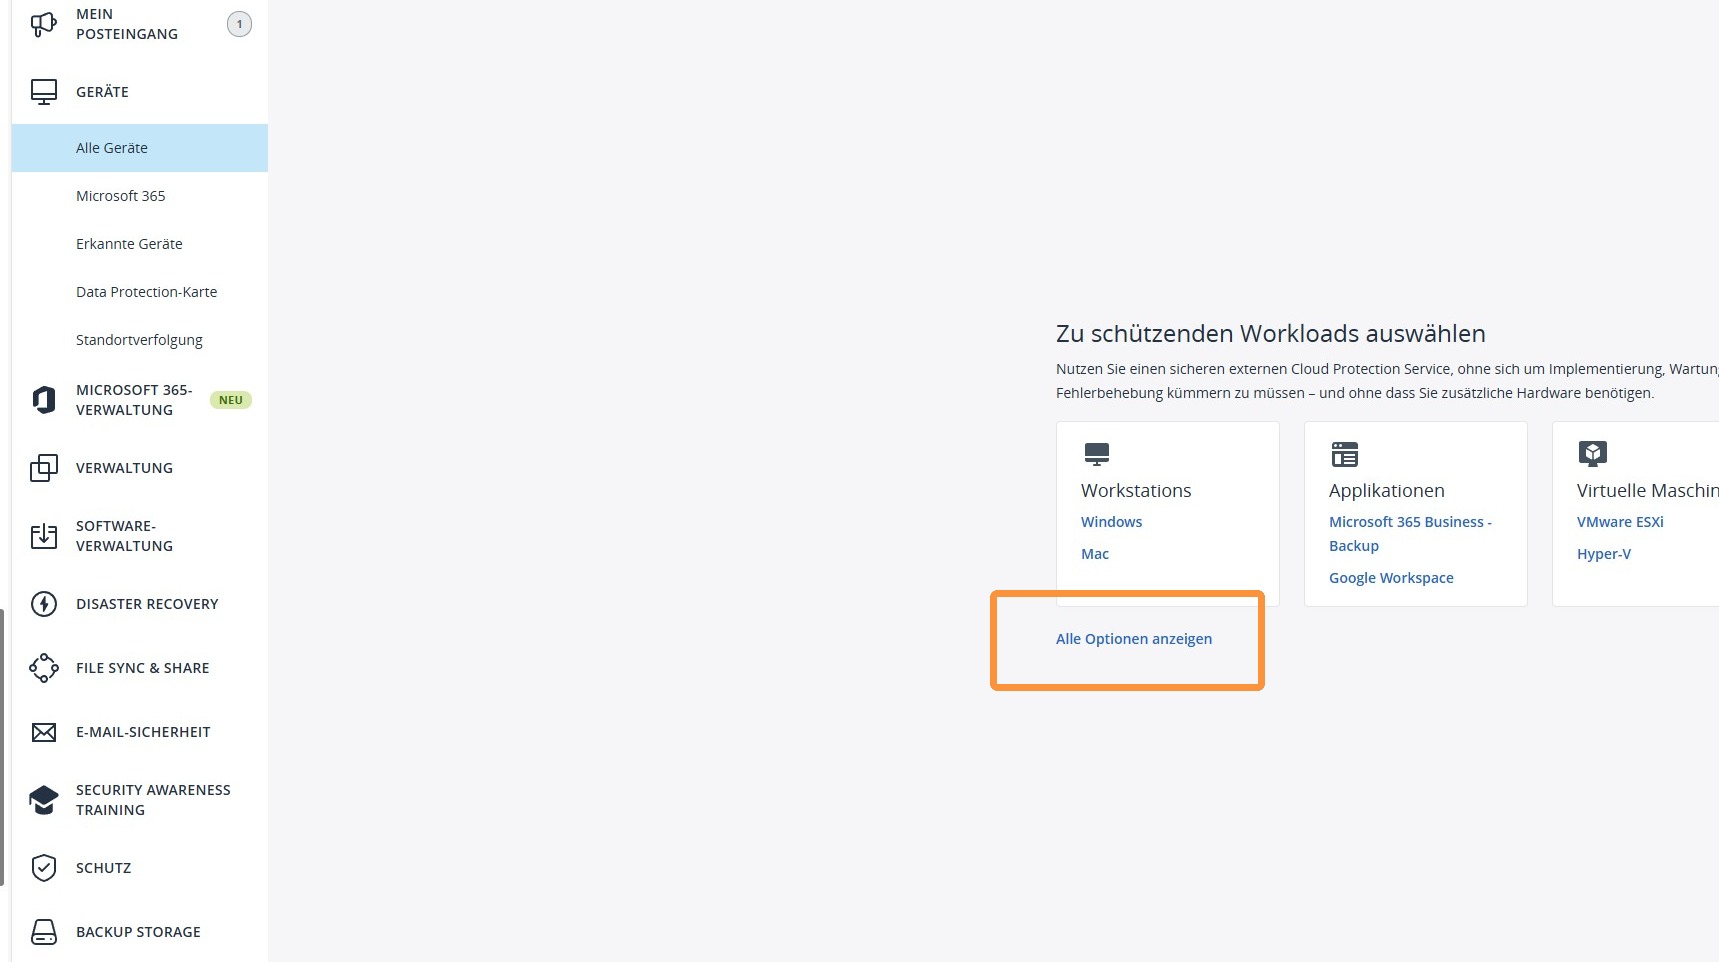
1. Go to All Devices and then select Show All Options.
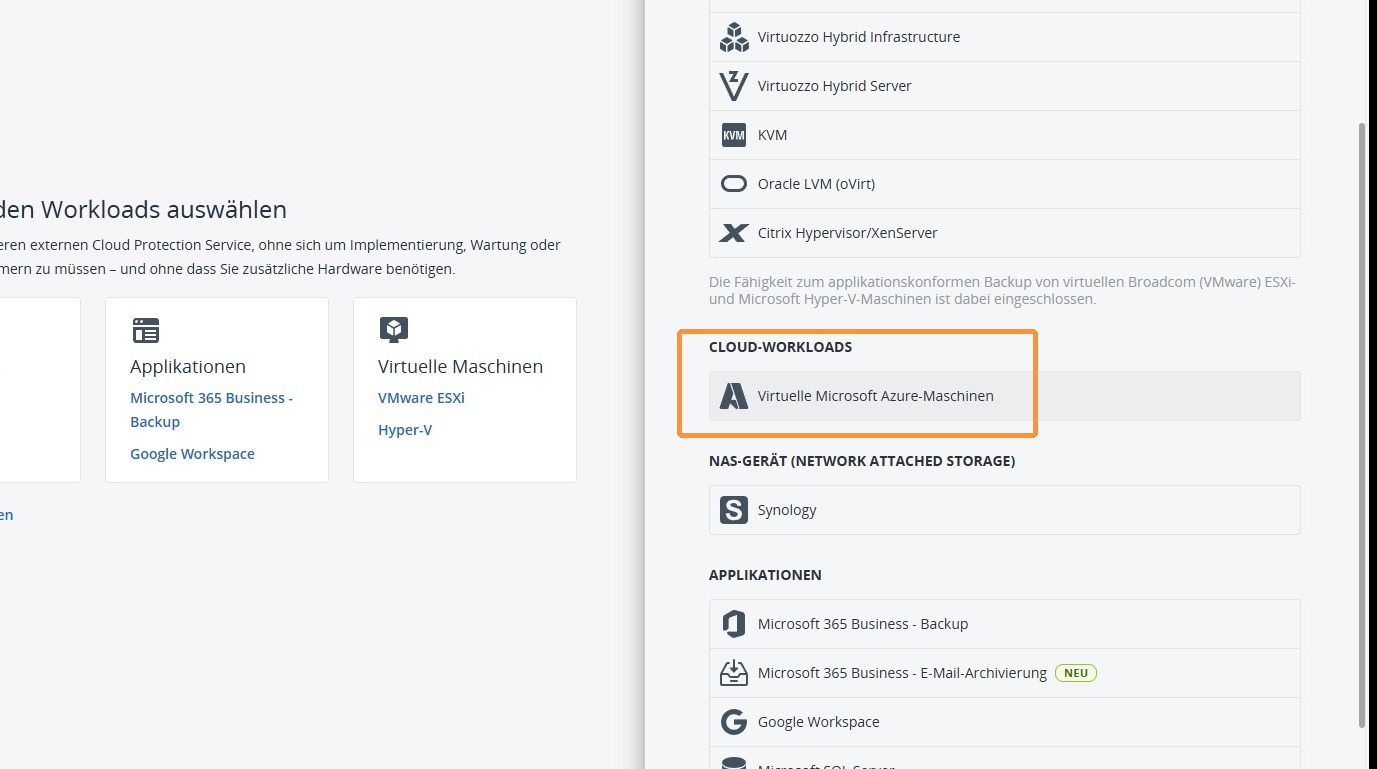
2. Under Cloud Workloads, select Virtual Microsoft Azure Machines.
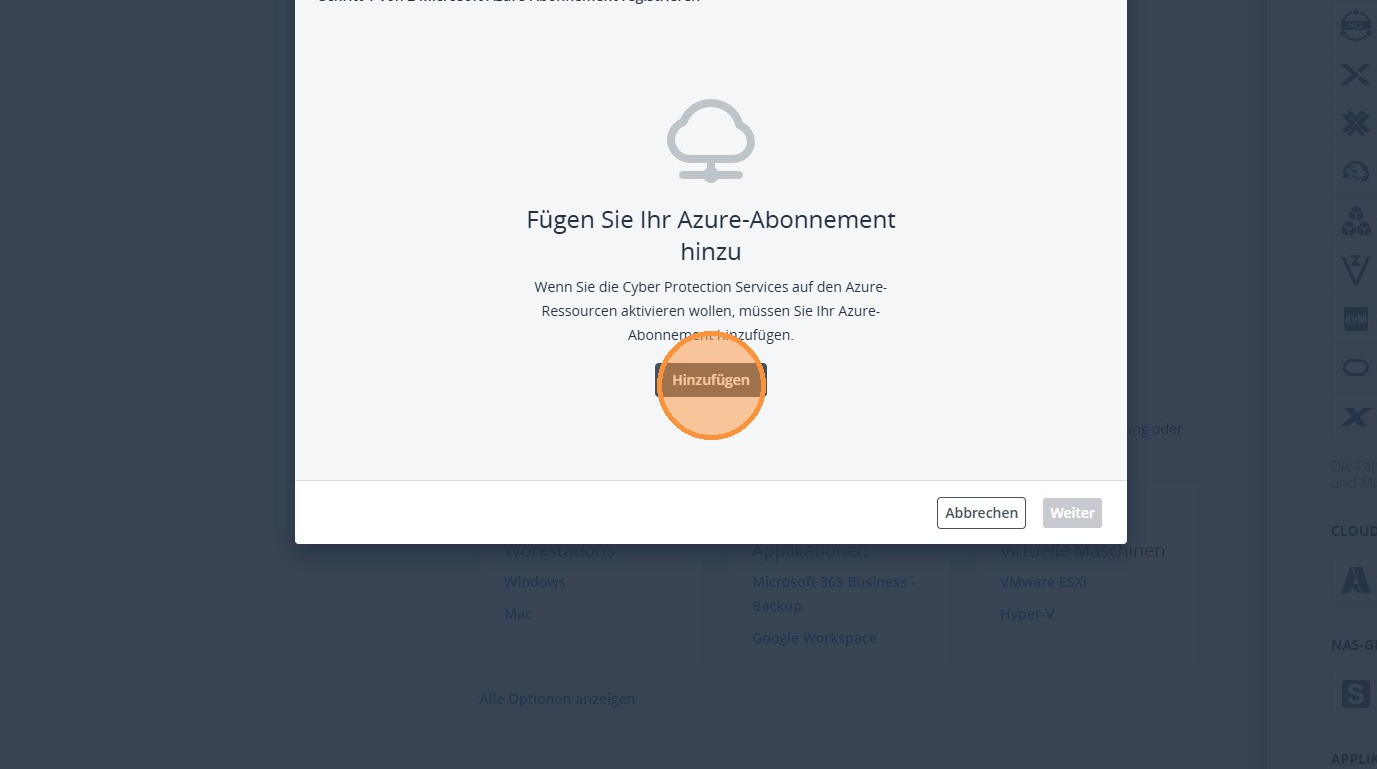
3. Now add the desired Azure subscription. To do this, go to Add and follow the steps to connect.
4. Now log in with a global administrator or a user with the specified permissions. It is important that the user also has OWNER access to the corresponding Azure subscription.
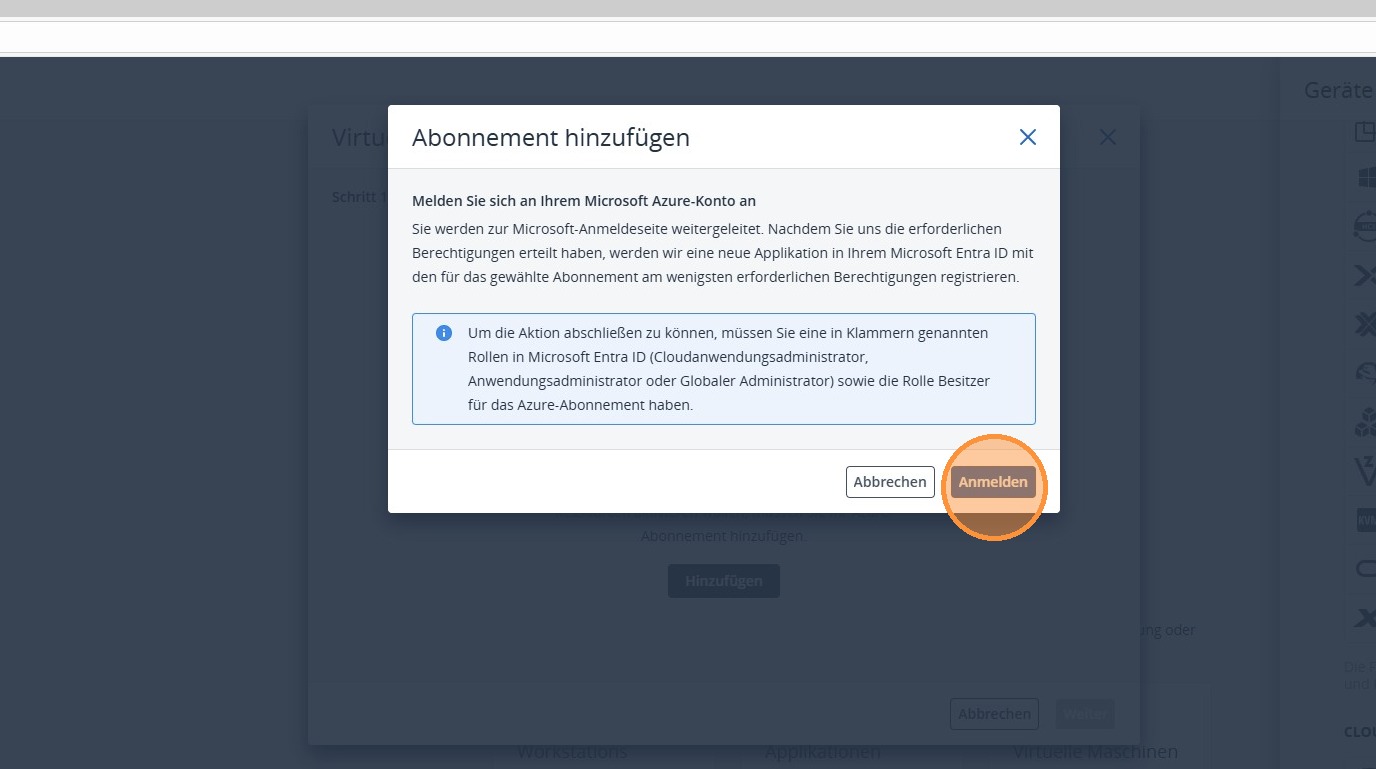
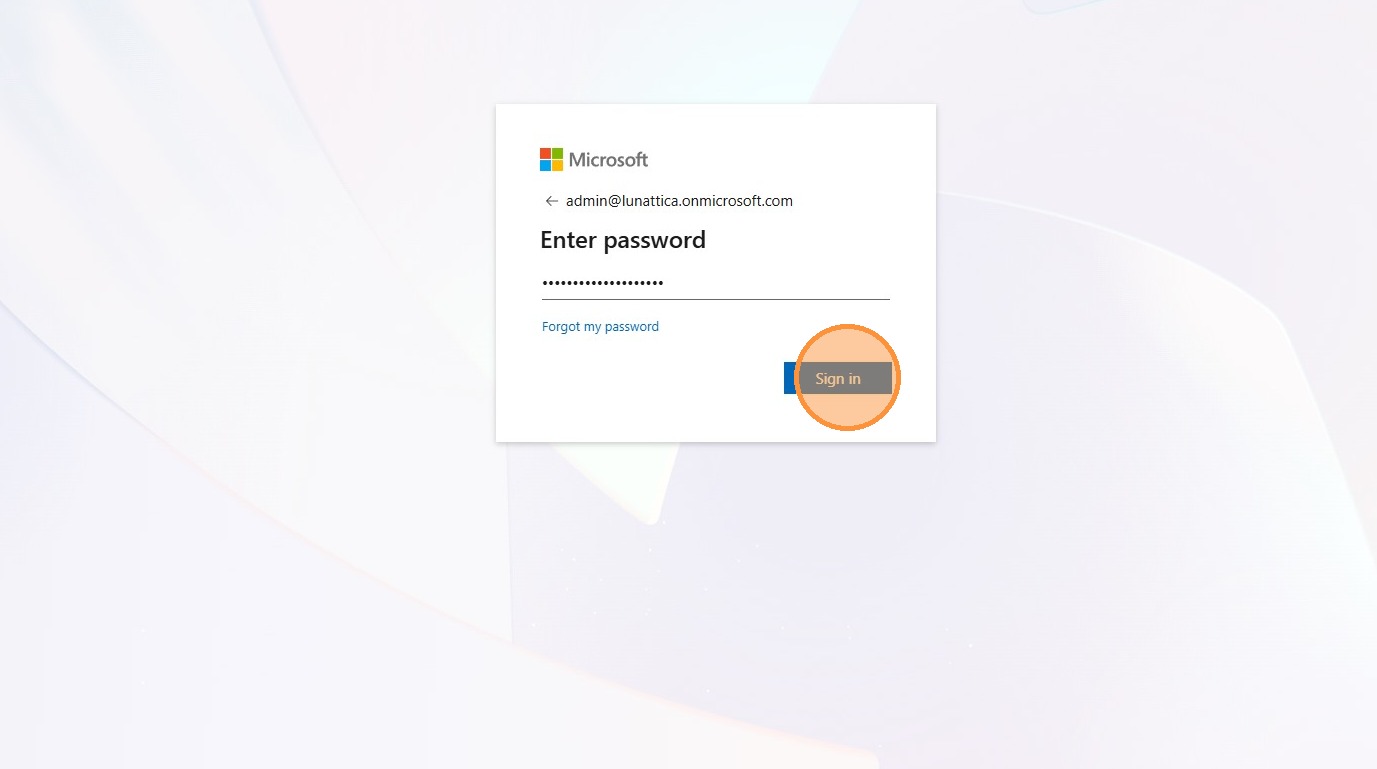
5. Sign in with the appropriate Microsoft account that has the necessary permissions.
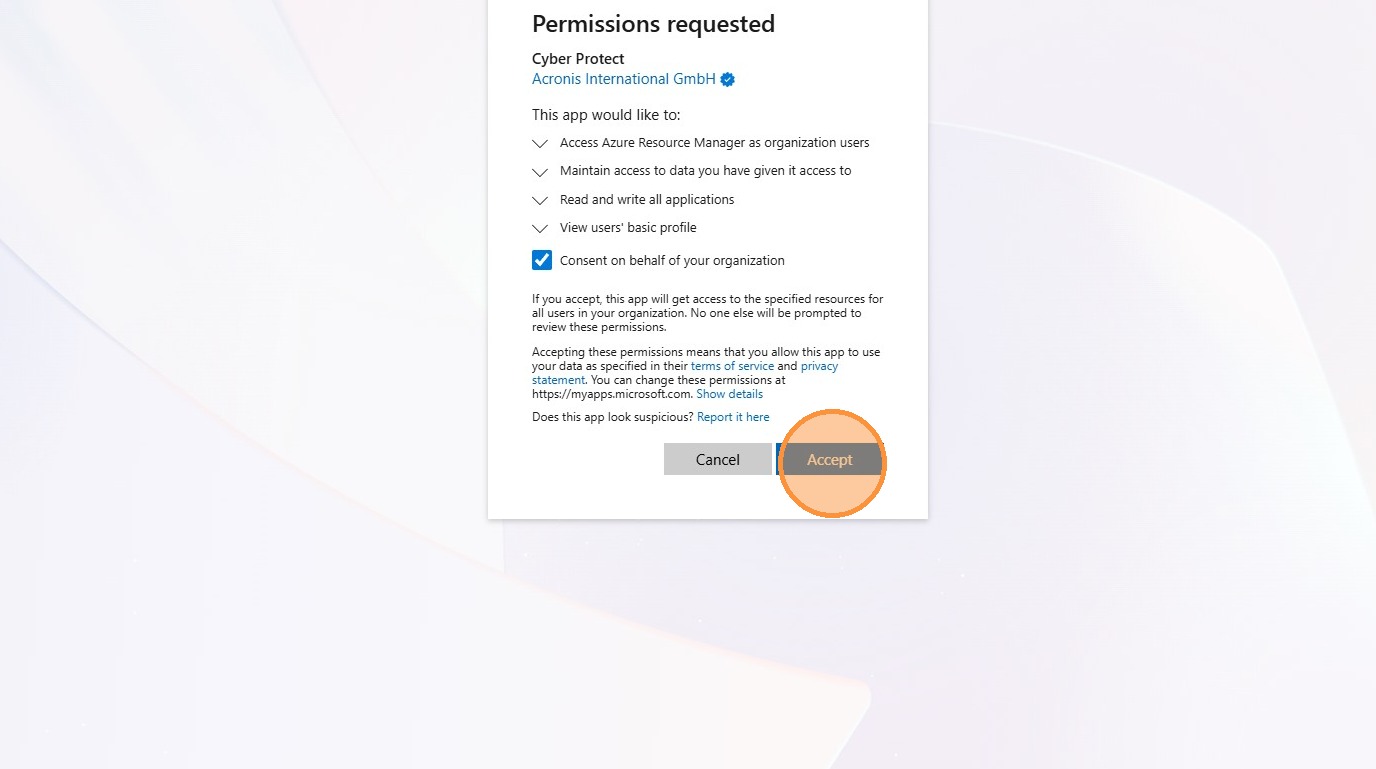
6. Confirm the permissions required by Acronis so that access to Azure resources can be set up correctly.
7. Now select the correct Azure subscription and the corresponding location to complete the connection correctly.
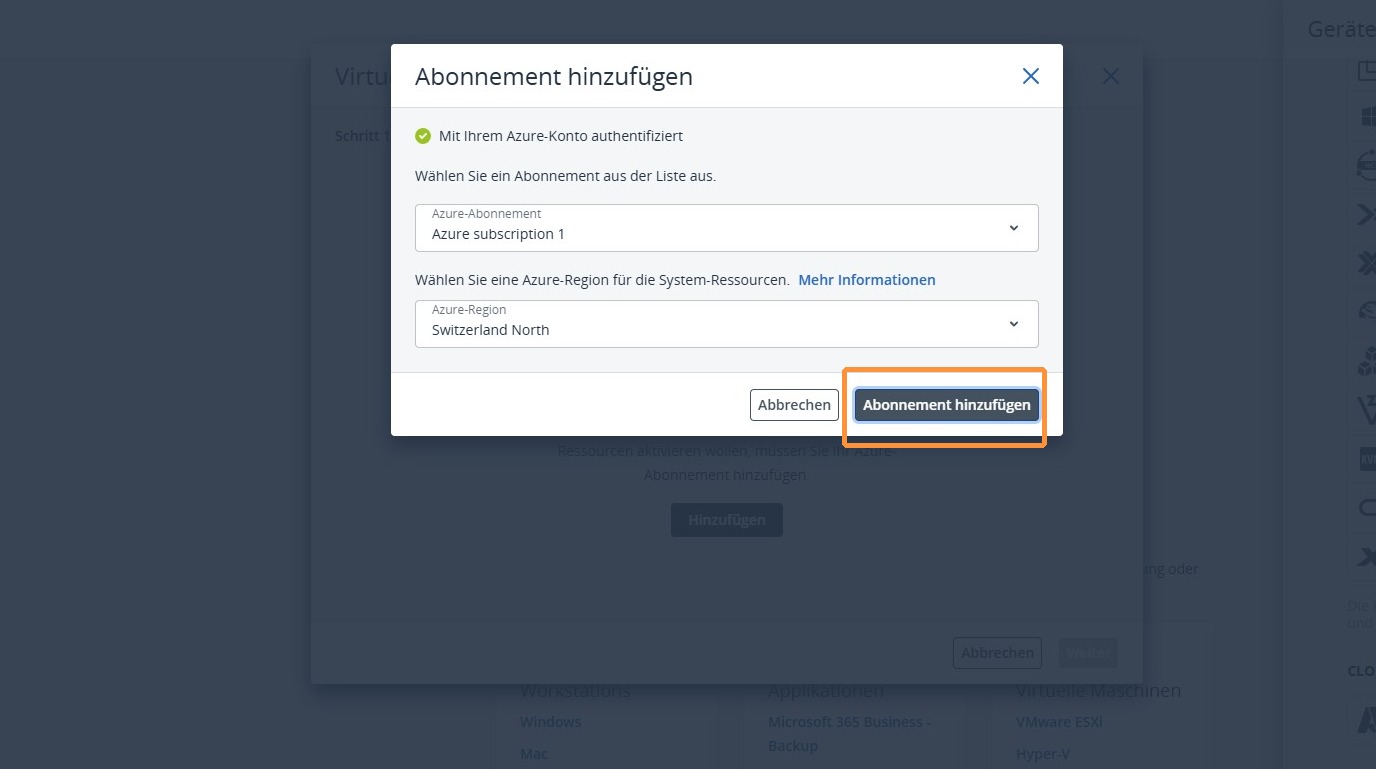
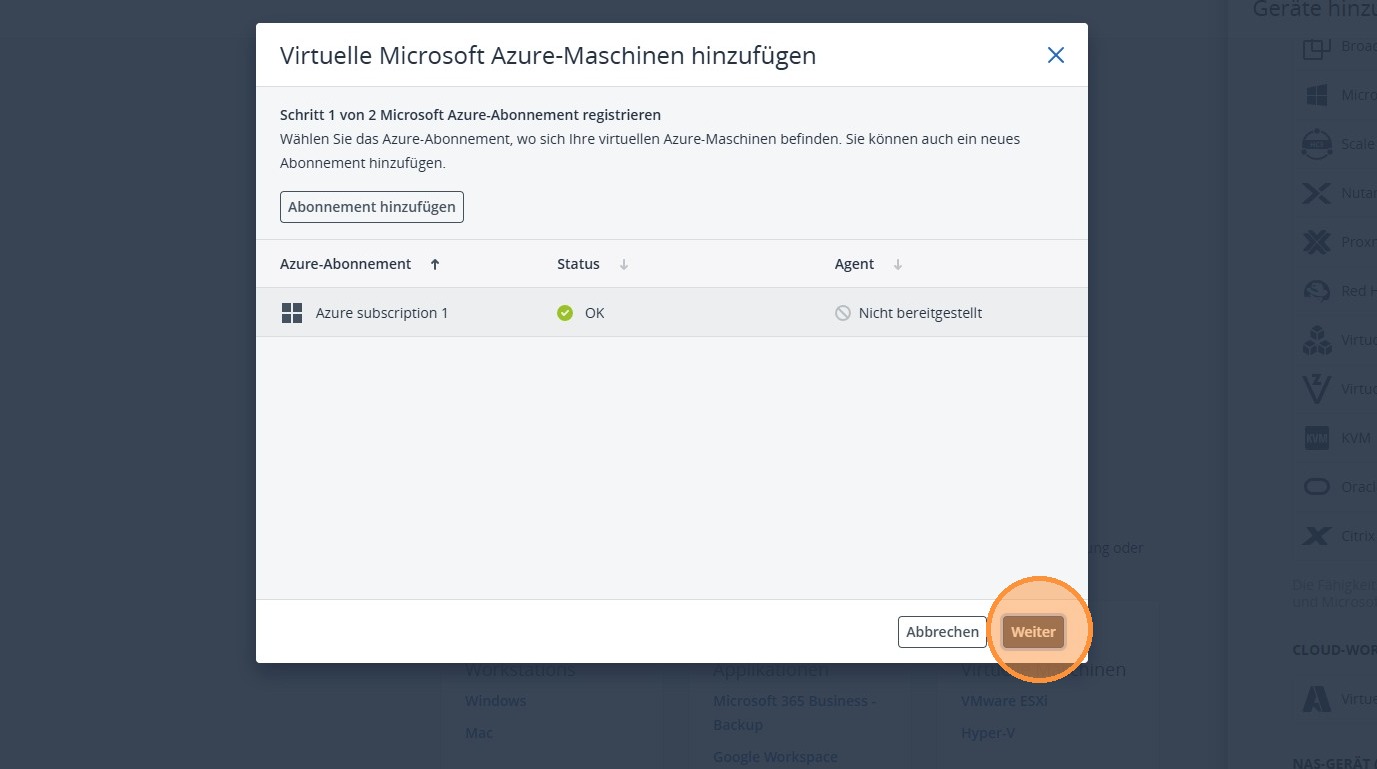
8. Now select the correct Azure subscription to proceed to the next step.
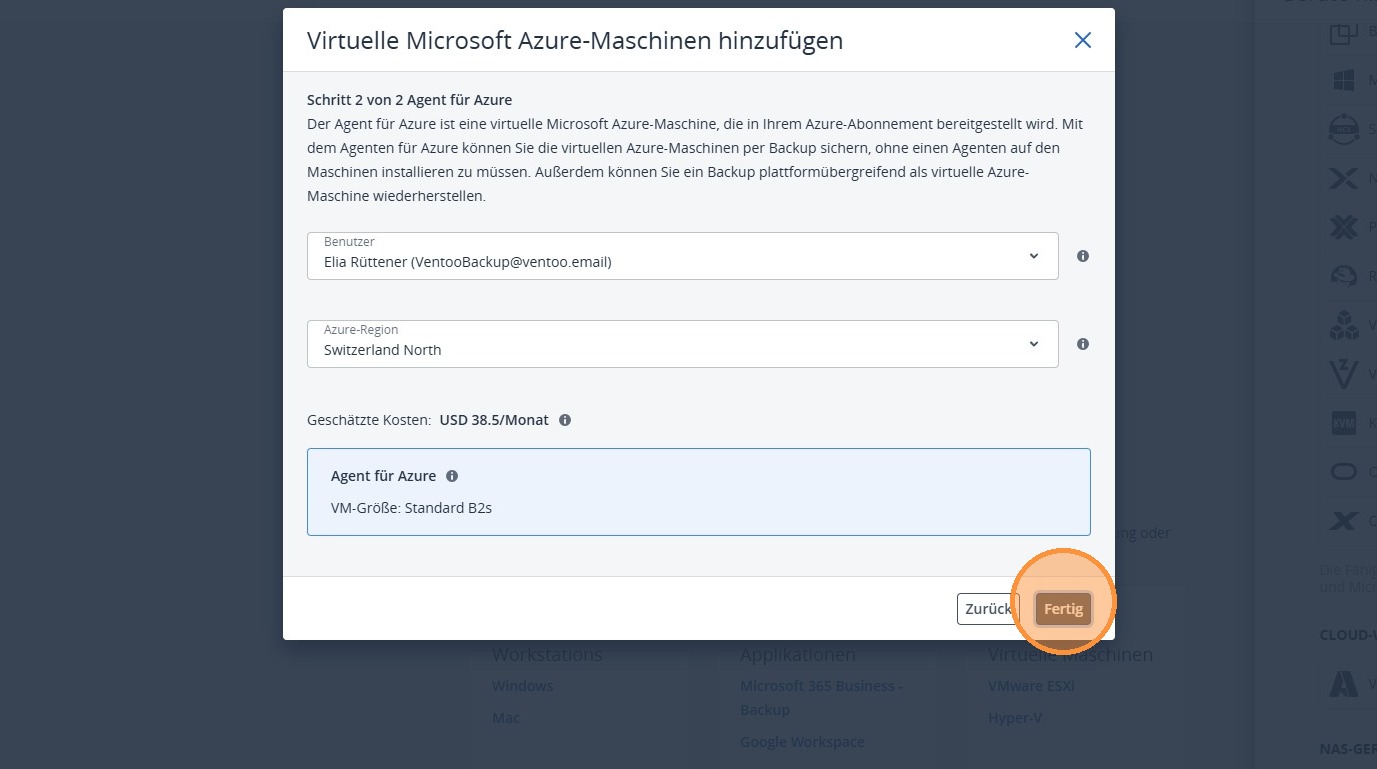
9. This step creates a virtual machine of size B2s in the defined Azure region. This serves as a backup agent for backing up your Azure virtual machines.
If an error message appears stating that the Standard B2s size is not available in the selected region, you must request the corresponding B2s quota in your Azure tenant under Quotas.
You will find instructions for this in the following Quotas quickstart Microsoft
10. Now, the entire basis for Azure Virtual Machine Backup is set up and the environment is prepared accordingly.
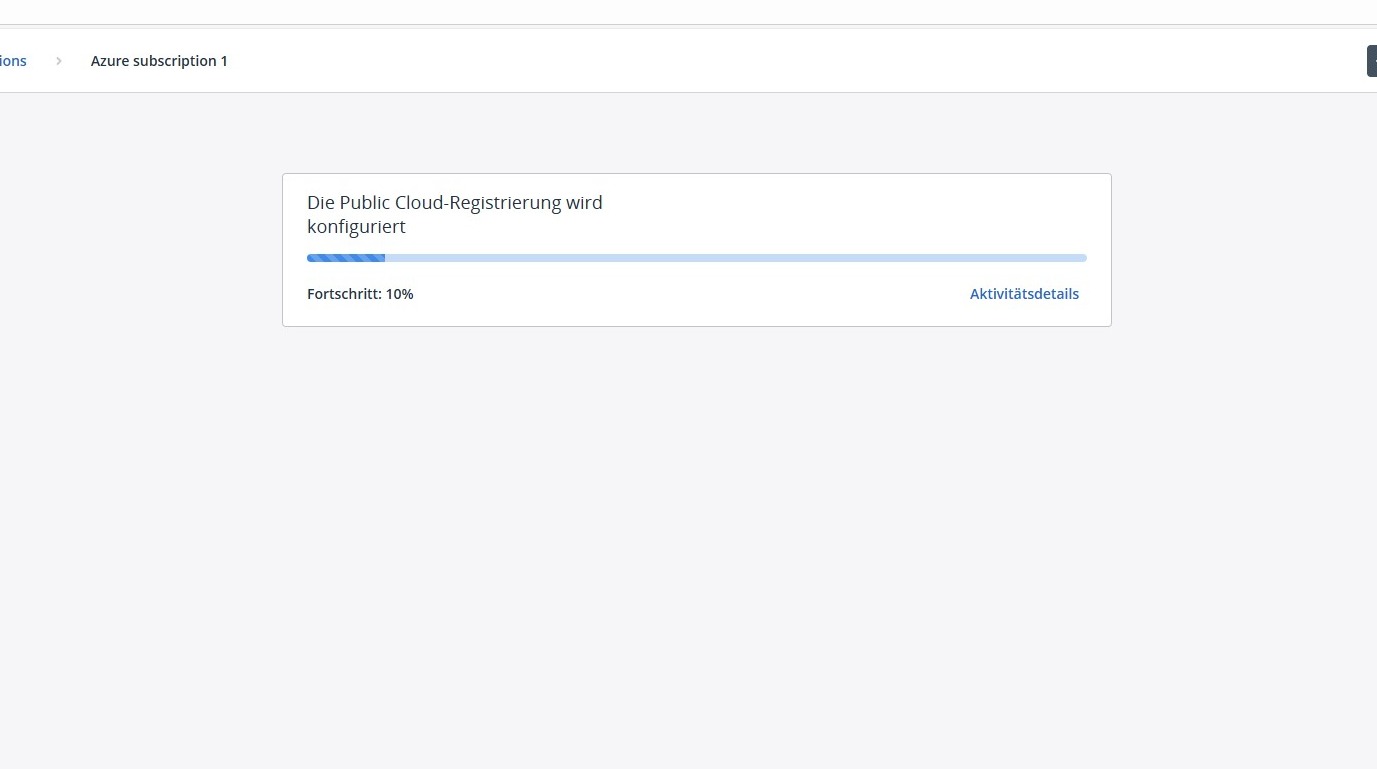
11. Once this step has been completed, you will see your connected Azure subscription and the associated virtual machines linked to this subscription in the new Microsoft Azure tab.